Featured Blog Posts
F5 Ecosystem | 11/19/2025
F5 ADSP Partner Program streamlines adoption of F5 platform
The new F5 ADSP Partner Program creates a dynamic ecosystem that drives growth and success for our partners and customers.
F5 ADSP | 11/18/2025
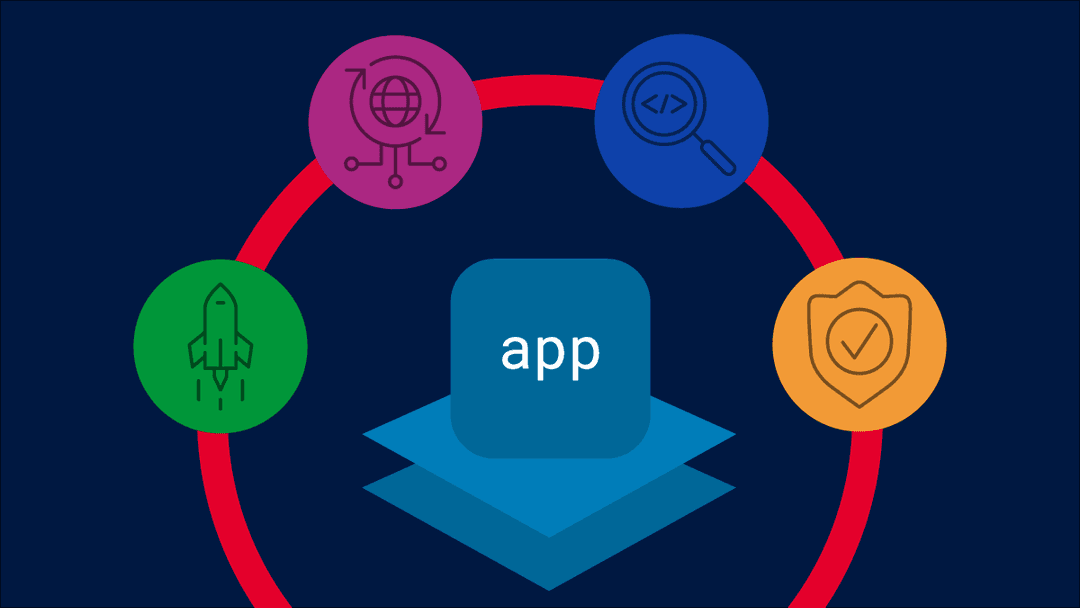
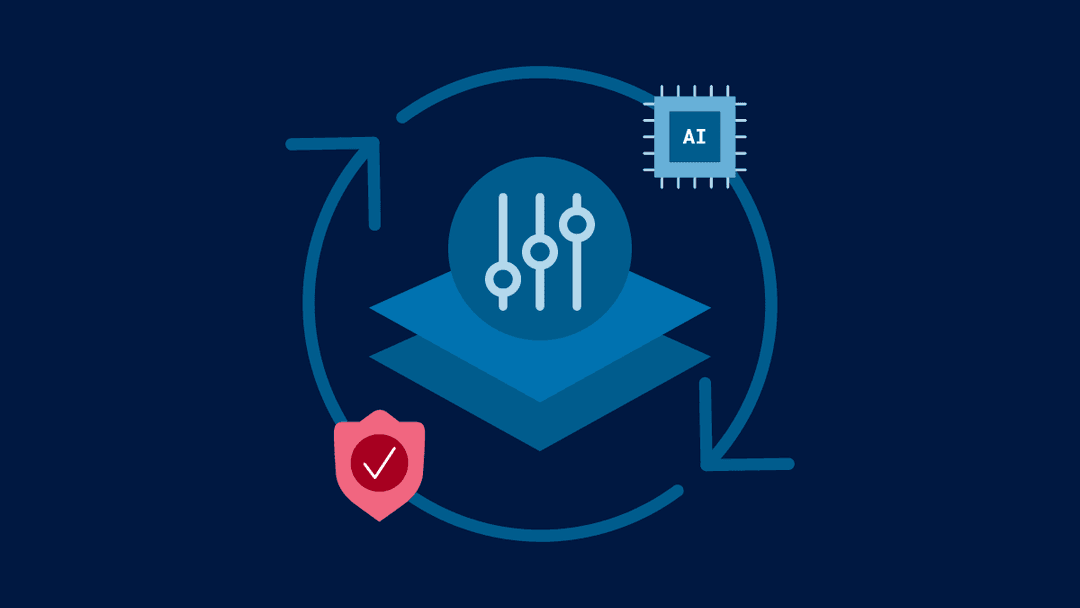
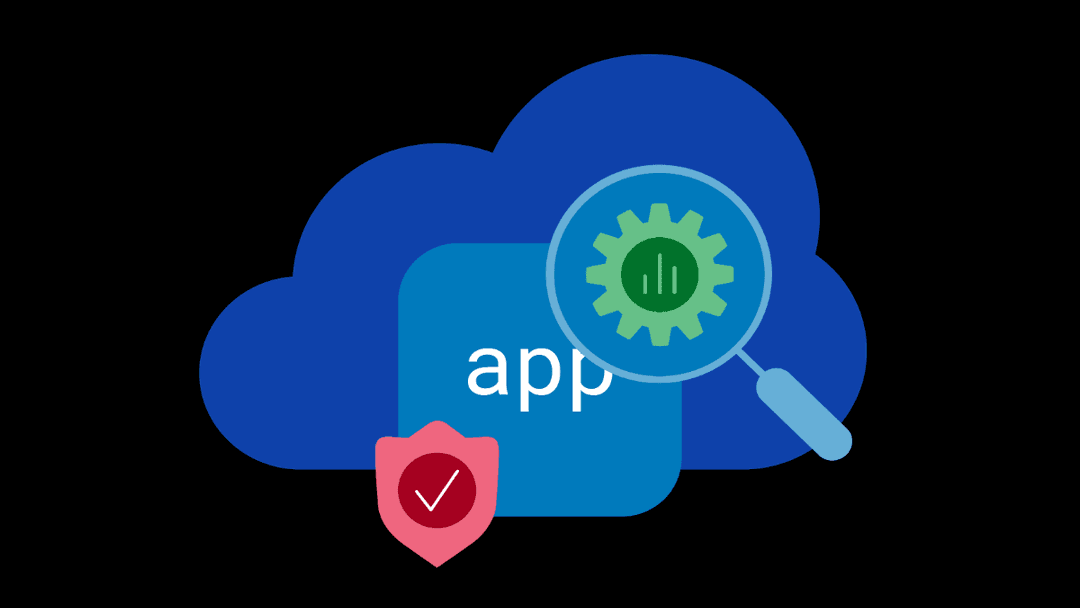
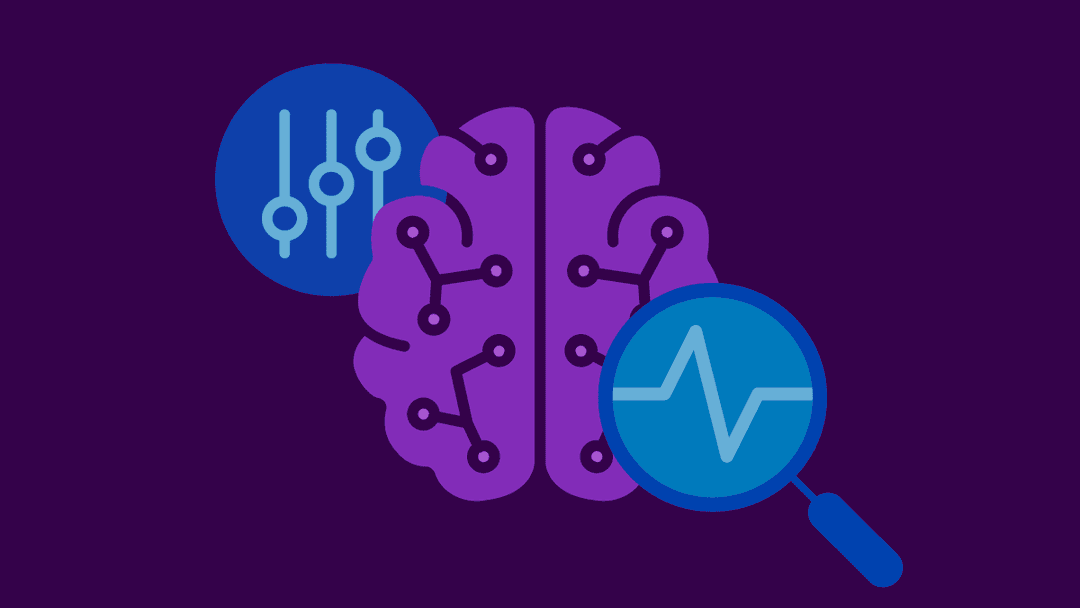
F5 BIG-IP v21.0: Control plane, AI data delivery and security enhancements
Learn how F5's BIG-IP v21.0 transforms AI app delivery and security with modernized solutions for control plane, server reliability, & application scalability.

F5 ADSP | 12/05/2025
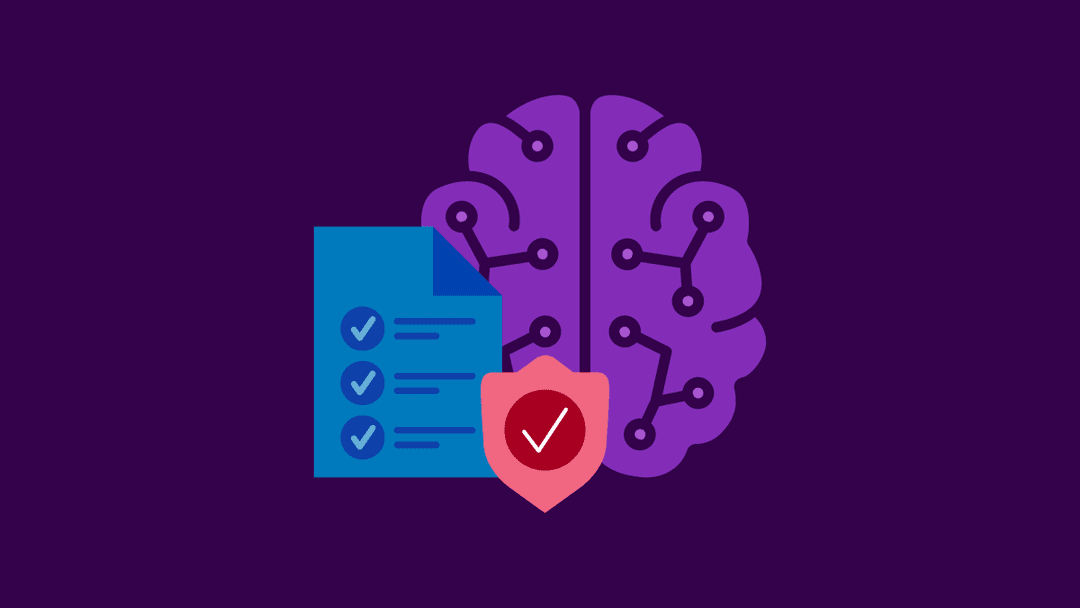
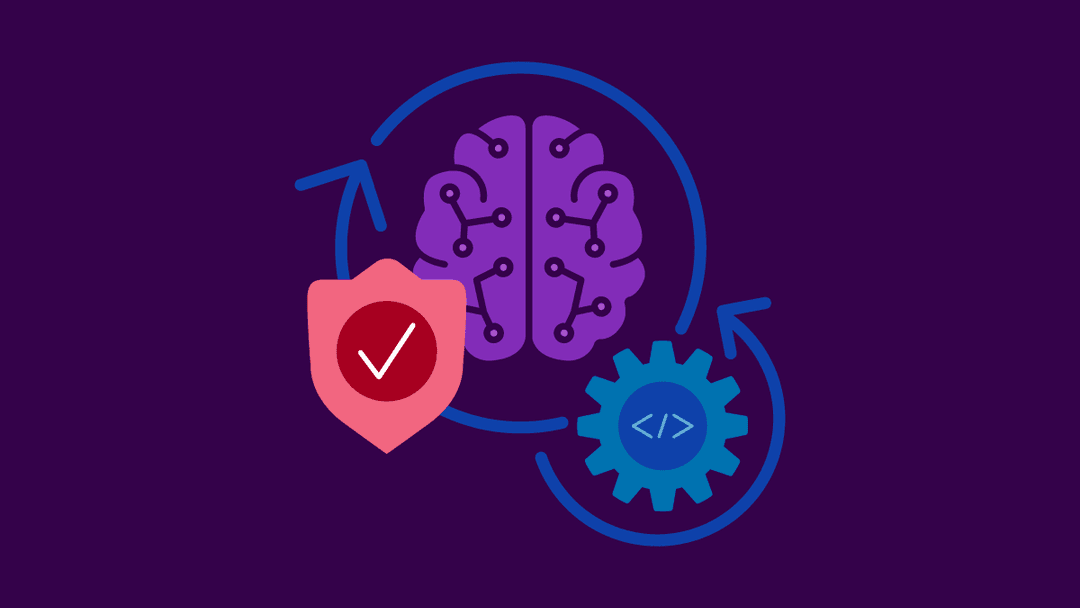
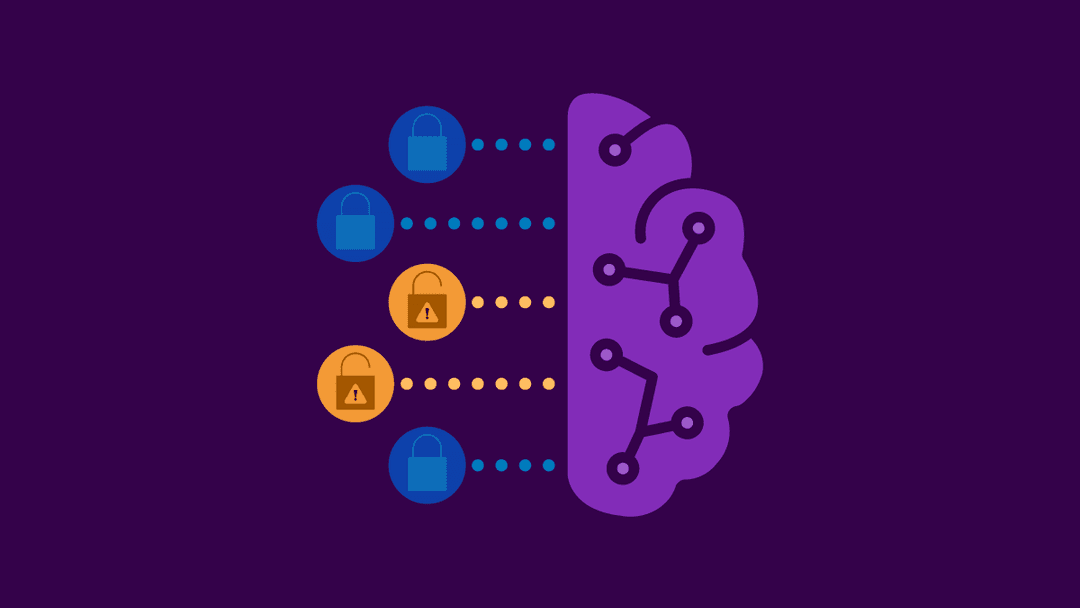
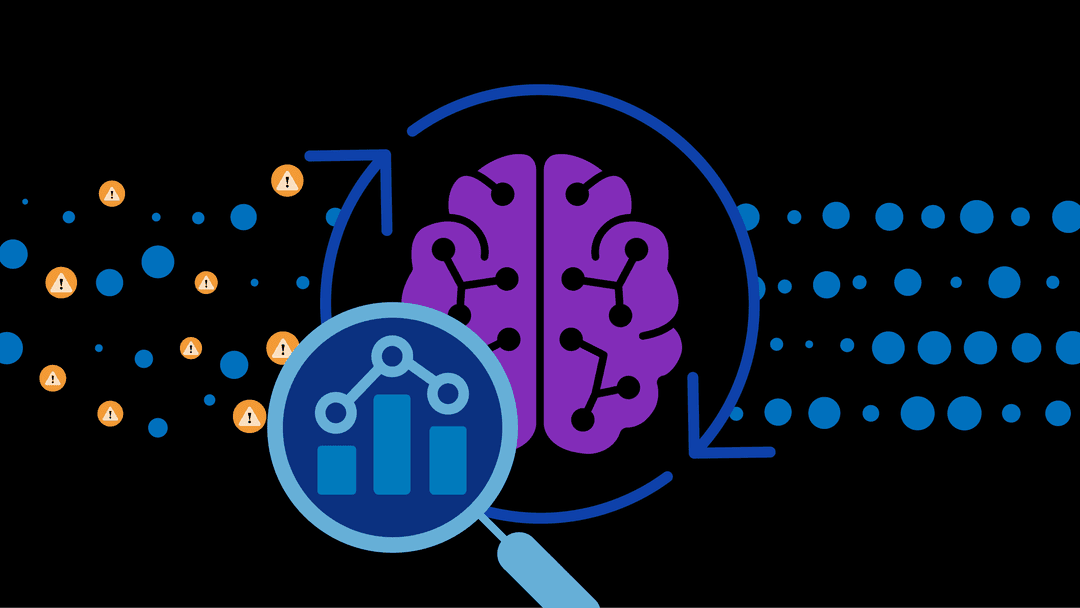
F5 named a leader in KuppingerCole’s Generative AI Defense Leadership Compass
KuppingerCole names F5 an innovation, market, and product leader in its inaugural Generative AI Defense (GAD) Leadership Compass.
All Blog Posts
(1829)Sort By:
Filter By


Results 1-30 of 1829